Five essential tips for stranded colourwork knitting
Stranded colourwork is one of those techniques where small habits make all the difference between a finished piece that looks store-bought and one that puckers, scrunches, and never quite blocks out.
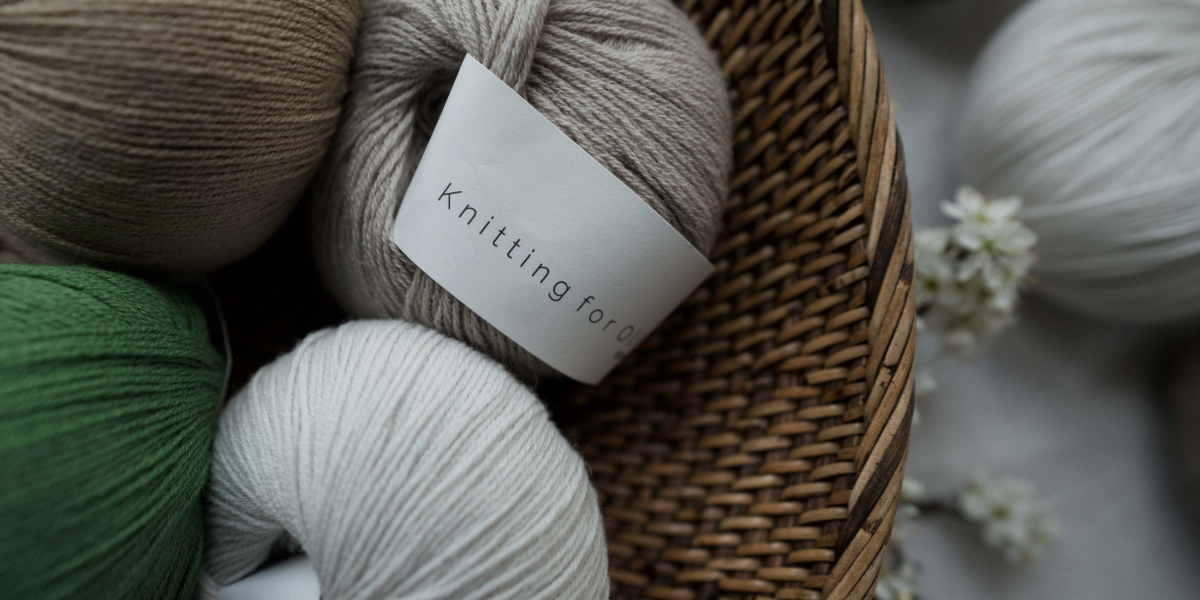
While working on a sample of my Heritage Sweater – an all-over colourwork design – I found myself thinking about everything I've picked up along the way: the small adjustments that turn lumpy, puckered colourwork into something flat, even, and quietly beautiful. Here are the five I lean on most.
Small habits, even fabric.
Adjust your needle size.
The single biggest tension fix
The single biggest issue in colourwork is uneven tension. Most of us knit tighter in colourwork than in plain stockinette, and the more colours and the more intricate the pattern, the more pronounced it gets.
You can sometimes get away with the same needle, or half a size larger, if the project uses only two colours with short repeats and no long floats. My Bjørk Raglan is a good example – wherever two colours run at once, it's a one-stitch repeat, and I used the same needle size throughout.
Another minimalist piece is the Barren Land Sweater – beginner-friendly two-colour stranded knitting with 3–5 stitch repeats. After the ribbing I moved up to 5 mm for the yoke and dropped back to 4.5 mm for the plain stockinette.

"Don't be shy to increase your needle size as much as necessary."
On three-colour rounds
If a pattern uses more than two colours at once, go a full size up. In the Stormur Sweater, which has stretches of three colours, I use 5.5 mm in the colourwork and 4.5 mm in the stockinette.

It gets really tricky once you're carrying three or more colours – here you may want two sizes larger, or more. The High Peak Sweater uses three colours simultaneously in much of its yoke; it gives the pattern depth, but even tension takes real attention.
Bonus tip: small circumferences pull tight too. Tighter tension isn't only a colourwork thing – it happens on any small-circumference piece, sleeves in particular. I always go a full size larger for sleeves and check my gauge once I've knit a section, to make sure I'm still on point.
About row gauge. Row gauge is tricky enough on its own – influenced by yarn, needle, stitch pattern, and your own tension on the day. Increasing needle size will likely grow your row gauge, and the bigger the jump, the bigger the difference. Keep an eye on it as you go.

For sleeves the fix is easy: change the frequency of increases or decreases. For colourwork sweaters it depends on construction. On a classic round-yoke, an altered row gauge will increase yoke depth – not always what you want – and you may need a creative solution, like skipping a portion of the colourwork toward the bottom.
Understand colour dominance.
Not a myth – just easy to miss
The reality and importance of colour dominance has been debated in the knitting community for a long time. To save you the trip: it isn't a myth, and it matters – although how visibly it matters can vary.
Different knitters report different degrees of prominence, influenced by individual tension and technique. How you hold and carry your yarn affects tension, and that alters how dominance reads on the front of the fabric. Two-handed knitters tend to see a more pronounced effect than single-hand or drop-and-pick knitters. The yarn matters too – sticky woolly yarns make dominance more visible than slick cottons. And in busy patterns with frequent colour changes, the visual complexity can mask the difference enough that some knitters disregard dominance entirely.
So what causes one colour to be more dominant? One colour appears more prominent on the right side of the work while the other recedes into the background. The effect comes from how the yarns are carried on the wrong side of the fabric: the yarn held lower – closer to your work – creates slightly larger stitches and reads as the more prominent colour.
"Consistency is key – especially with low-contrast colours."
The whole game in one sentence
How to get it right: hold the dominant colour on the left and knit it continental; hold the non-dominant colour on the right and throw it English-style. The left hand sits lower, which is why it reads dominant. Be consistent about it, even when it feels counterintuitive: throwing five stitches in your non-dominant colour from the right and knitting only one stitch in the contrast colour from the left can feel awkward, but consistency is what gives you even, deliberate-looking results – especially with low-contrast colour combinations.
Catch your floats.
The fix for scrunched, puckered colourwork
Not catching the floats – or not catching them often enough – is one of the most common mistakes I see in new colourwork knitters. It's the cause of that scrunched-up look that prompts the inevitable question, "Will blocking solve this?" Blocking can only do so much. It's always worth being proactive instead.
Catching your floats keeps tension even and stops the fabric from bunching up. Left too long, floats disrupt the evenness of the fabric – most commonly causing puckering, occasionally creating slack areas. I catch roughly every three to five stitches, and honestly I prefer not to go above three; the results are flatter and more consistent. Short, frequent catches keep the fabric flat, preserve its natural stretch and elasticity, and improve the comfort and fit of the finished garment.
"Catch every three to five stitches. I prefer three."
My rule of thumb
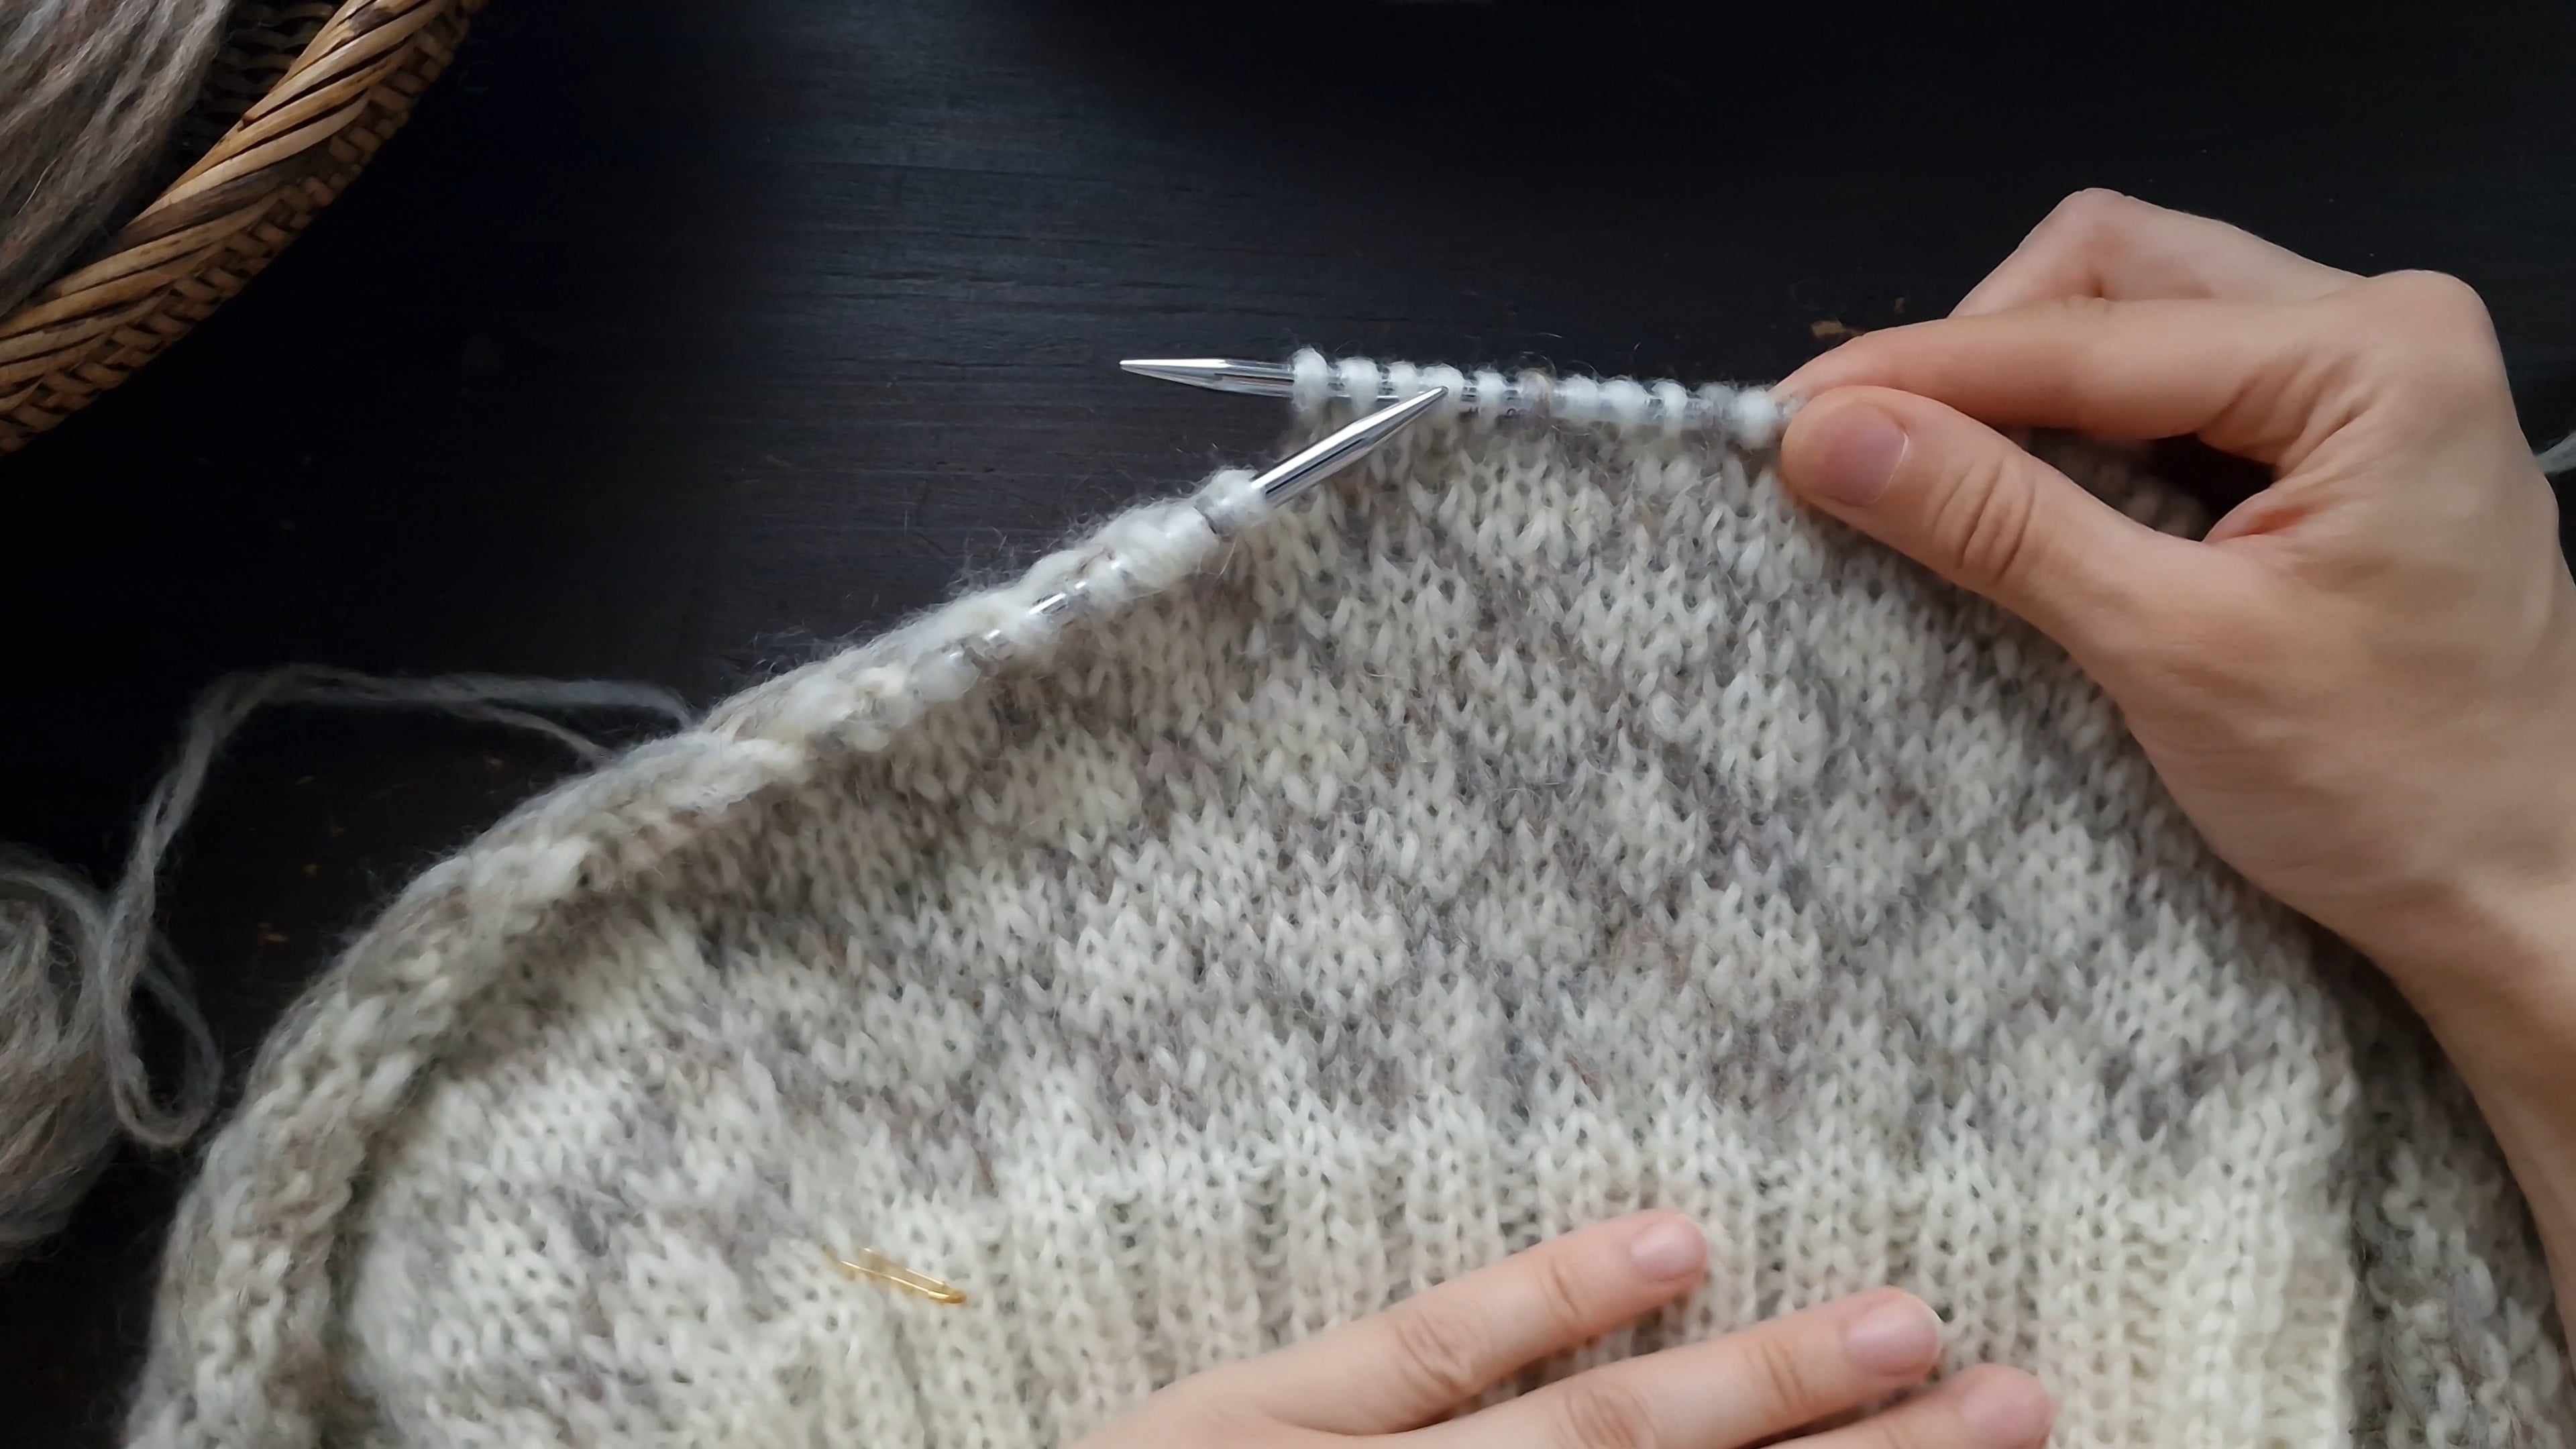
Turn your work inside out.
Maximum reward, minimum effort
This is perhaps the most valuable little trick I picked up early on, and it's beautiful in its simplicity – maximum reward for minimum effort. If you don't already do this, it will make a real difference, particularly if you struggle with tight tension.
"The wrong side, with the floats, faces the outside. You're still working the right side."
The whole trick
The simple act of turning your work inside out, so you're knitting on the side of the round furthest from you, makes floats naturally longer. The travel distance for the yarn is greater, which prevents tight floats and gives you a smoother fabric. Unless you have your knitting in front of you, that may be hard to picture – it's the kind of thing that clicks the moment you try it.
Don't worry, you're still working the right side of the fabric – the wrong side, with the floats, is now facing the outside, away from you.
This method was a revelation for me when I first tried it, especially for multi-colour rounds, because the floats have more give and can't pull tight across the back of the work. It feels a little awkward at first, but it's worth trying. It may well end up being your preferred way to knit colourwork – I genuinely can't imagine doing it any other way. Pure magic.
Eliminate the jog.
For clean, continuous pattern lines
When you knit in the round, you're not really making perfect circles – you're forming a spiral. That spiral leaves a small visible misalignment at the beginning of each round, known as the jog. It's most noticeable in visible areas like a sweater yoke, or in a striped project where a pattern line should sit cleanly horizontal.
There are several ways to deal with the jog. The one I use most is simple: lift the stitch below the first stitch of the new round onto your left needle and knit the lifted stitch together with the first stitch as you normally would. Repeat on every subsequent round to keep a continuous, visually clean line.
A note on consistency: on subsequent rounds, make sure you don't lift the already-elongated stitch again, but the stitch directly below it. It can recede into the elongated stitch and be harder to pick up – worth slowing down for.

"A faint seam may remain – but it dramatically reduces the jog's impact."
The reality of the technique
This technique isn't entirely invisible, even when it aligns the pattern correctly. There may still be a slight seam, due to the bulk of the yarn and the elongated stitches – but it dramatically reduces the jog's impact and looks much neater than the jog itself. Whether the seam reads to the eye depends on yarn and pattern.
For large blocks of colour, you only need to do this on colour-change rounds, not every round. For the Heritage Sweater – every round. For the Stormur Sweater – colour-change rounds only.
That's it – five tips, five differences.
Small habits, even fabric.
Adjust your needle size. Understand colour dominance. Catch your floats. Turn your work inside out. Eliminate the jog. Five small habits that quietly add up to colourwork you'll want to wear.
Looking for more? Pair this with the Spring & Summer Fibre Guide – yarn choice has a big effect on how floats and tension behave.